Grid
This component is available since version 3.1.0.
Introduction
The o-grid component is used to display a two-dimensional list view that arranges cells into grid-based layout.
For adding a grid component to your application you must insert the o-grid in your page and include a o-grid-item component wrapping the desired grid item type you want to display.
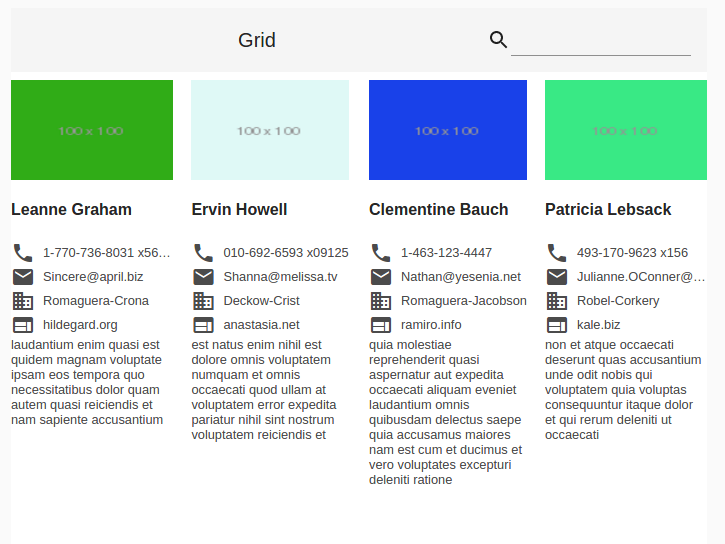
Define title
The o-grid component allows you to specify a title by configuring the title attribute, this value will appear in the toolbar.
Show controls
The o-grid component shows controls by default, you can show/hide them by configuring the show-controls attribute.
Data binding
The o-grid component supports data binding and you can command the component to display data either from local or remote data storage
The data array can be provided in two ways:
- Provide an array of objects to the
static-dataattribute. - Configure the component to query the data from a service. Using
serviceandentityattributes.
Passing function calls directly to
static-data(e.g.[static-data]="getData()") is a bad practice that causes continuous re-evaluation and leads to malfunctioning behavior in components such as o-list, o-table, o-grid and o-tree. Always pass a static reference instead (e.g.[static-data]="data").
Columns per row
You can specify the number of columns shown on each row by configuring the cols attribute. By default, the number of columns will be automatically determined based on mediaQuery of Flex Layout. See more here.
The following table shows the default columns that will appear in the grid according to the size of the screen.
| Breakpoint | Number columns |
|---|---|
| xs, sm | 1 |
| md | 2 |
| lg,xl | 4 |
Items per page
The o-grid component allows you to configure the number of items displayed on each page by configuring the page-size attribute. By default this value is 32.
You can also configure the page size options by configuring the show-page-size and the page-size-options attributes.
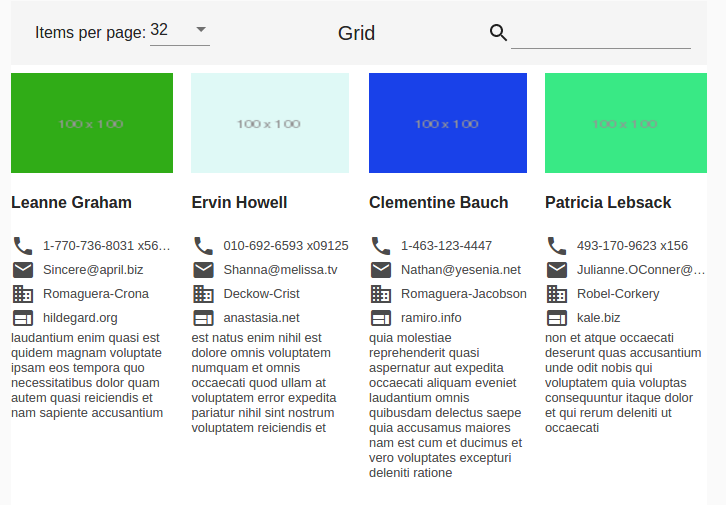
<o-grid #grid columns="id;name;username;email;companyname" keys="id" [static-data]="staticData"
  show-page-size="yes" page-size-options="24;32;64">
  <o-grid-item *ngFor="let list of grid.dataArray">
    <o-column layout-padding class="container-item">
      <img [src]="list.thumbnailUrl" style="margin-top:8px">
      <h4> {{list.name}} </h4>
      <div class="phone">
        <mat-icon>phone</mat-icon><span>{{ list.phone }} </span></div>
      <div class="email">
        <mat-icon>email</mat-icon><span>{{ list.email }}</span></div>
      <div class="domain">
        <mat-icon>domain</mat-icon><span>{{ list.companyname }}</span></div>
      <div class="website">
        <mat-icon>website</mat-icon><span>{{ list.website }}</span></div>
      <div class="body">
        {{ list.body }}
      </div>
    </o-column>
  </o-grid-item>
</o-grid>
Pagination
By default, the grid is not paginating the data, but if you want that behaviour you must set pagination-controls= "yes" in the o-grid component.
The paginator displays a dropdown of page sizes for you to choose from. The options for this dropdown can be set via page-size-options. For more information see the API.
You can also configure the number of records initially displayed with query-rows attribute.
Sorting
The o-grid component allows you to sort the grid items by configuring the orderable attribute. You must also configure the sortable-columns attribute in order to indicate which columns would be sortable using [ ASC (defined by default) or DESC ] format.
You also can specify the default sorting column by configuring the sort-column attribute.
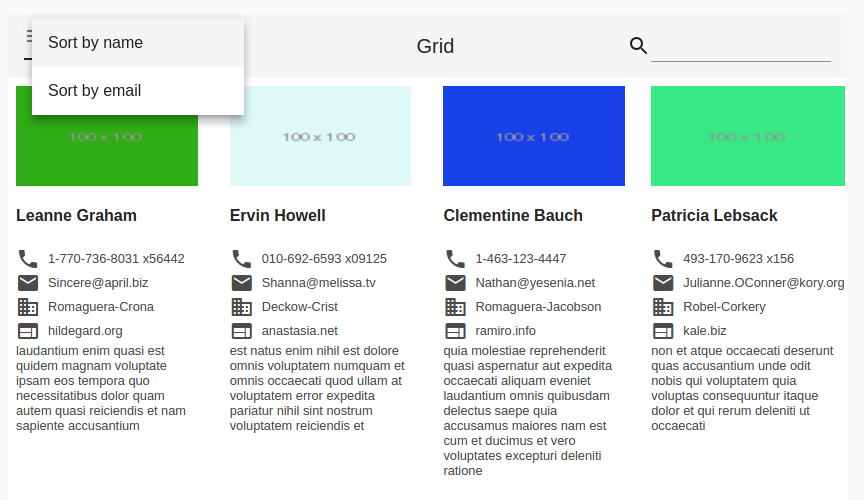
<o-grid #grid columns="id;name;username;email;companyname" keys="id" [static-data]="staticData"
  orderable="yes" quick-filter="yes" sortable-columns="name:desc;email" sort-column="name" grid-item-height="1:2">
  <o-grid-item *ngFor="let list of grid.dataArray">
    <o-column layout-padding  class="container-item">
      <img [src]="list.thumbnailUrl" style="margin-top:8px">
      <h4></h4>
      <div class="phone"><mat-icon>phone</mat-icon><span></span></div>
      <div class="email"><mat-icon>email</mat-icon><span></span></div>
      <div class="domain"><mat-icon>domain</mat-icon><span></span></div>
      <div class="website"><mat-icon>website</mat-icon><span></span></div>
      <div class="body">

      </div>
    </o-column>
  </o-grid-item>
</o-grid>
Grid item height
The height of the rows in a grid list can be set via the grid-item-height attribute. By default this value is 1:1.
- Fixed height: The height can be in px, em, or rem. If no units are specified, px units are assumed (e.g. 100px, 5em, 250).
- Ratio: This ratio is column-width:row-height, and must be passed in with a colon, not a decimal (e.g. 4:3).
- Fit: Setting
grid-item-heightto fit automatically divides the available height by the number of rows. Please note the height of the o-grid or its container must be set.
Gutter size
The gutter size can be set to any px, em, or rem value with the gutter-size property. If no units are specified, px units are assumed. By default the gutter size is 1px.
Multiple rows or columns
It is possible to set the rowspan and colspan of each o-grid-item individually, using the rowspan and colspan properties. By default its values are 1. The colspan must not exceed the number of cols in the o-grid. There is no such restriction on the rowspan however, more rows will simply be added for it the tile to fill.
 <o-grid #grid attr="grid" [static-data]="staticData" columns="text;cols;rows;color" cols="4"
grid-item-height="100px" controls="no" gutter-size="0">
  <o-grid-item *ngFor="let list of grid.dataArray" [colspan]="list.cols" [rowspan]="list.rows">
    <div [style.background]="list.color" fxFill>
       {{list.text}}
    </div>
  </o-grid-item>
</o-grid>

QuickFilter
By default this option is enabled, the filter is visible in the top right. It can be disabled by configuring the quick-filter attribute.
By default the filtering is local, you can enable remote filtering setting pageable="yes", in the case if you the filtering is local and you need to customize the filter for example by a date format, you must overwrite the filterData method.
 <o-grid #grid attr="employees" service="employees" entity="employee"
    columns="EMPLOYEEID;EMPLOYEETYPEID;EMPLOYEENAME;EMPLOYEESURNAME;EMPLOYEEADDRESS;EMPLOYEESTARTDATE;EMPLOYEEEMAIL;OFFICEID;EMPLOYEEPHOTO;EMPLOYEEPHONE"
    quick-filter-columns="EMPLOYEENAME;EMPLOYEESURNAME;EMPLOYEEADDRESS;EMPLOYEEEMAIL;EMPLOYEESTARTDATE;OFFICEID"
    keys="EMPLOYEEID" sort-columns="EMPLOYEESURNAME" pageable="no" query-rows="16" fixed-header="yes"
    refresh-button="no" gutter-size="18px" detail-mode="none">
    <o-grid-item *ngFor="let item of grid.dataArray">
      <div (click)="openDetail(item)" fxLayout="column" fxLayoutAlign="space-evenly center"
        class="employee-item mat-elevation-z1">
        <div fxLayout="row" fxLayoutAlign="space-between end" class="image-container">
          <mat-divider fxFlex></mat-divider>
          <div class="image">
            <img [src]="getImageSrc(item.EMPLOYEEPHOTO)">
          </div>
          <mat-divider fxFlex></mat-divider>
        </div>

        <div fxLayout="column" fxLayoutAlign="start center" class="employee-data">

          <span class=" employee-name">{{ item.EMPLOYEENAME }} {{ item.EMPLOYEESURNAME }}</span>
          <span>{{ item.EMPLOYEEEMAIL }}</span>
          <span>{{ 'EMPLOYEE_BRANCH' | oTranslate : {values: [item.OFFICEID]} }}
            <div class="square"></div>
            {{ 'EMPLOYEETYPE_' + item.EMPLOYEETYPEID | oTranslate }}</span>
          <span>{{ item.ADDRESS }}</span>
          <span>{{ item.EMPLOYEESTARTDATE | date }}</span>

        </div>
      </div>
    </o-grid-item>
  </o-grid>
...
const self_2 = this;
//overwrite filterdData method
this.grid.filterData = function (value?: string, loadMore?: boolean) {
  ...
  if (this.dataResponseArray && this.dataResponseArray.length > 0) {
    let filteredData = this.dataResponseArray.slice(0);
    if (value && value.length > 0) {
      const caseSensitive = this.isFilterCaseSensitive();
      const self = this;

      filteredData = filteredData.filter(item => {
        return self.getQuickFilterColumns().some(col => {
          //Add this code to filter by the formatted value of the dates
          let valueOfColumn = item[col];

          switch (this.sqlTypes[col]) {
            case 93:
              if (Util.isDefined(item[col])) {
                valueOfColumn = self_2.datePipe.transform(item[col]);
              }
              break;
          }

          const regExpStr = Util.escapeSpecialCharacter(Util.normalizeString(value, !caseSensitive));
          return new RegExp(regExpStr).test(Util.normalizeString(valueOfColumn + '', !caseSensitive));
        });

      });
    }
    ...
  }

}
...
Fixed header and footer
The o-grid component supports fixed header and footer setting fixed-header="yes" when its content is greater than its own height. For that, you must set the height of the grid, using, for example [ngStyle]="{height: 400px;}". By default, it’s disabled.
<o-grid #grid attr="grid" [static-data]="staticData" columns="id;name;username;email;companyname"
  keys="id" fixed-header="yes" [ngStyle]="{height:400px}" pagination-controls="yes" query-rows="8">
  <o-grid-item *ngFor="let list of grid.dataArray">
    <o-column layout-padding class="container-item">
      <img [src]="list.thumbnailUrl" style="margin-top:8px">
      <div class="name"><b> {{ list.name }}</b></div>
      <div class="phone">
        <mat-icon>phone</mat-icon> <span>  {{ list.phone }} </span>
      </div>
      <div class="email">
        <mat-icon>email</mat-icon> <span> {{ list.email }} </span>
      </div>
      <div class="domain">
        <mat-icon>domain</mat-icon> <span>  {{ list.companyname }} </span>
      </div>
      <div class="website">
        <mat-icon>website</mat-icon> <span>  {{ list.website }} </span>
      </div>
    </o-column>
  </o-grid-item>
</o-grid>
Custom grid item
When building an o-grid component you can define your own grid item. For including a custom grid item, OntimizeWeb offers the o-grid-item directive that can be attached to an angular material grid tile (mat-grid-tile) .
<o-grid #grid columns="id;name;username;email;companyname" keys="id" [static-data]="staticData"
  orderable="yes" quick-filter="yes" grid-item-height="1:2" sortable-columns="name;email">
  <o-grid-item *ngFor="let list of grid.dataArray">
    <o-column layout-padding  class="container-item">
      <img [src]="list.thumbnailUrl" style="margin-top:8px">
      <h4> {{ list.name }} </h4>
      <div class="phone"><mat-icon>phone</mat-icon><span> {{ list.phone }} </span></div>
      <div class="email"><mat-icon>email</mat-icon><span> {{ list.email }}</span></div>
      <div class="domain"><mat-icon>domain</mat-icon><span>{% raw %} {{ list.companyname }} </span></div>
      <div class="website"><mat-icon>website</mat-icon><span>  {{ list.website }}</span></div>
      <div class="body">
         {{ list.body }}
      </div>
    </o-column>
  </o-grid-item>
</o-grid>
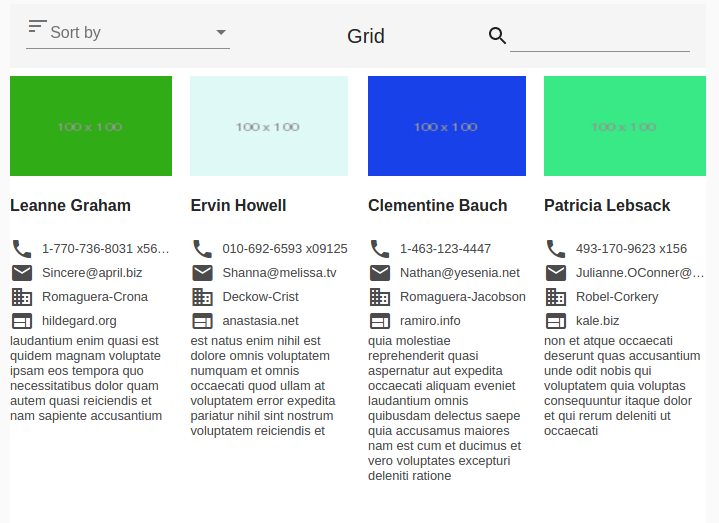
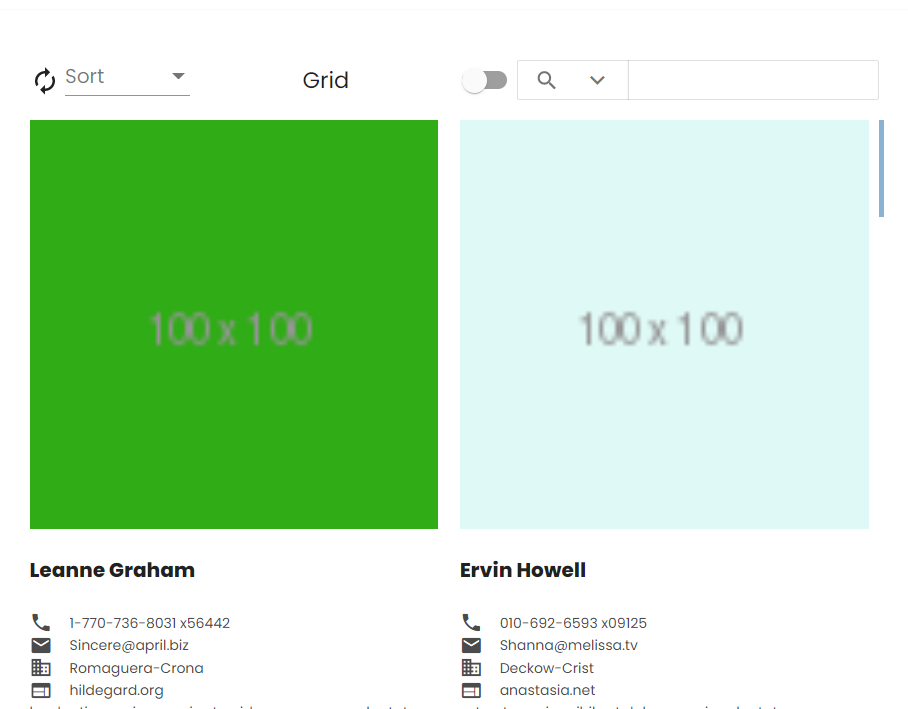
Custom content in toolbar
The o-grid component allows to add content in the toolbar with the selector o-grid-toolbar at start position by default but you can configure the position with position='start' at the start or at the end with the position='end'.
If the selector o-grid-toolbar is used together with position='start' the content will always be placed to the right of the Refresh/New/Delete buttons, page selector and sort selector and if used together with position='end' the content will always be placed to the left of the quickfilter
  <o-grid #grid attr="grid" title="Grid" cols="2" show-page-size="no" refresh-button="yes"...>
    <!-- Custom content toolbar in position start -->
    <o-combo o-grid-toolbar position="start" label="Sort" width="100px"...></o-combo>
    <!-- Custom content toolbar in position end -->
    <o-slide-toggle o-grid-toolbar position="end"....></o-slide-toggle>
    ...
  </o-grid>
Demo
You can see this and more examples of this component in the OntimizeWeb playground.